Free Shipping from Canada on Orders $75+* (before tax)
Free Shipping from Canada on Orders $75+* (before tax)
How do you load a kayak onto a car roof on your own? Loading a kayak on the roof of an SUV or any other vehicle on your own can be difficult due to the size and weight of kayaks especially fishing kayaks. There are many load-assist roof rack options available for kayaks but if you want to keep things simple and keep the cost down then this easy technique is worth a look.
Below is the video guide from Canadian pro team member Peter Yeung and friend where they demonstrate this simple and easy technique for loading a kayak on your own using a moving blanket.
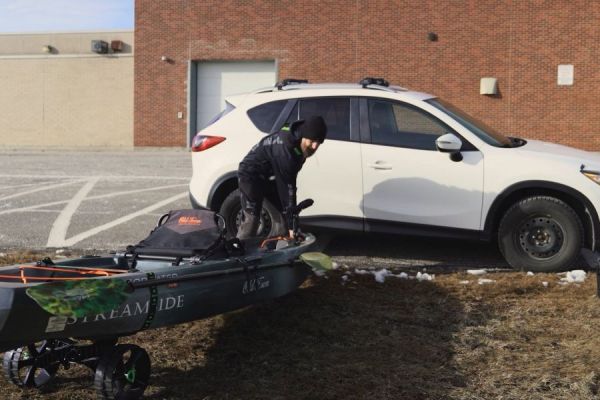
Step 1 - Line the kayak up alongside the car as below and remove any loose items or items that could get loose when driving.
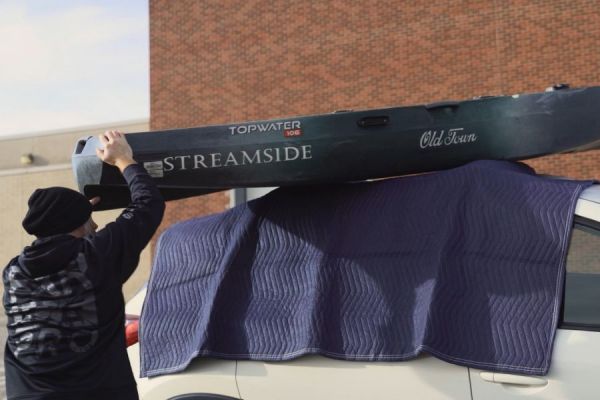
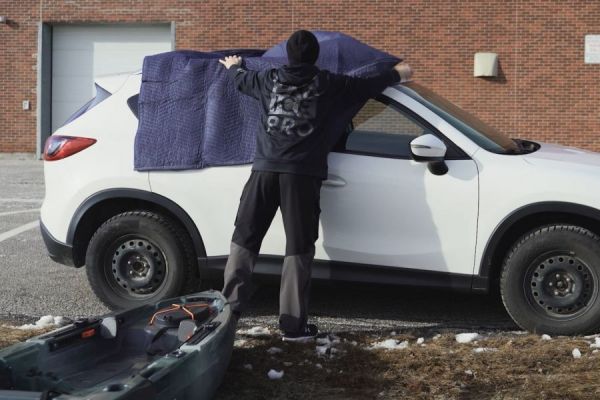
Step 2 – Spread your moving blanket over the roof of the car tucking it under the roof bars to avoid it moving or if the blanket is large enough close the corners in the car doors or windows. make sure the blanket is over each of the roof bars also, this will help position the kayak in the next few steps
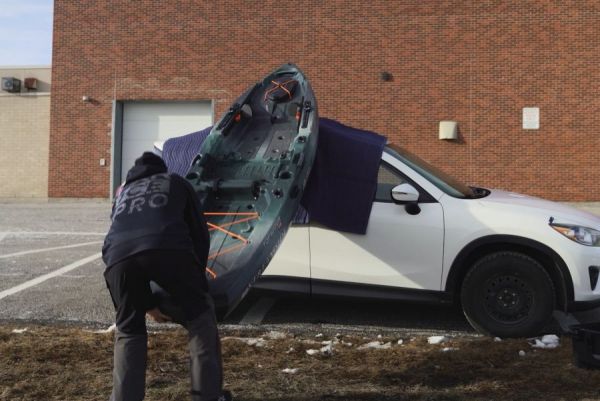
Step 3 – Lift the bow and rest it on the edge of the car but high enough that it does not slip easily off. We have demonstrated this on the grass with a kayak that does not have a rudder. If the surface you are on could damage the kayak when sliding on the ground use a rubber mat, yoga mat or the rubber floor mats from the car to protect the keel. If your kayak has a rudder that could get damaged then consider loading in reverse with the stern first.
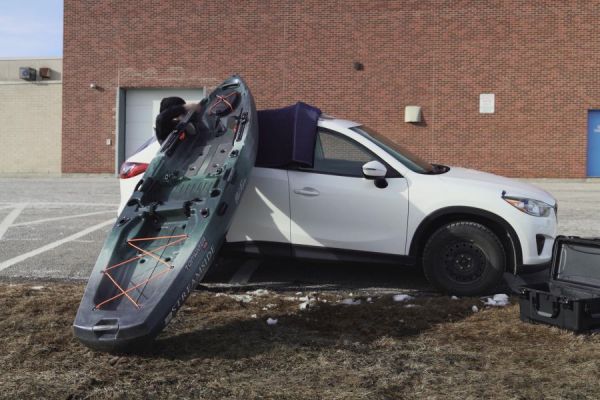
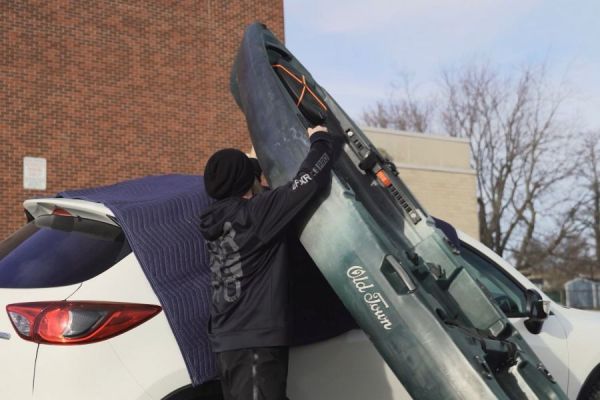
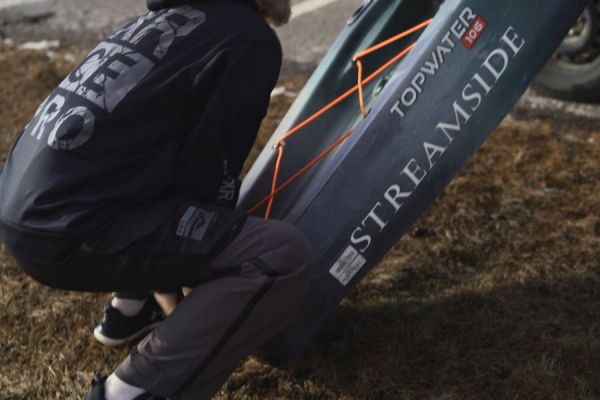
Step 4 – Keeping your hands on the kayak to avoid it slipping walk to the stern of the kayak, bending your knees, lift the stern and push forward sliding the kayak further onto the roof until you have about half the kayak on the roof.
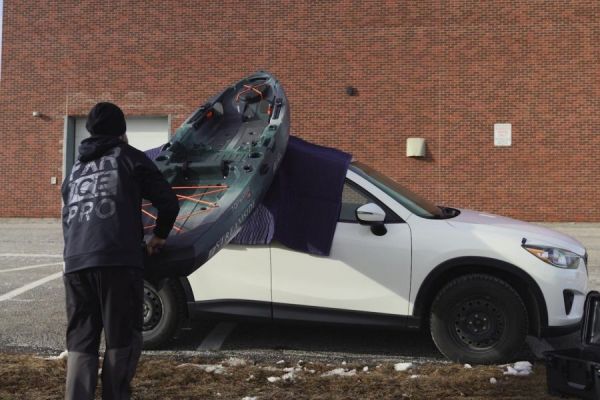
Step 5 – Pivot or swing the kayak to towards the rear of the car which will then see the kayak safely on both of the roof bars, take your time with this step the first time you do it as you will need to get the positioning right to avoid the kayak slipping off. Once the kayak is on move to the centre of the kayak and push/slide it across to the middle of the roof if it is not already in this position.
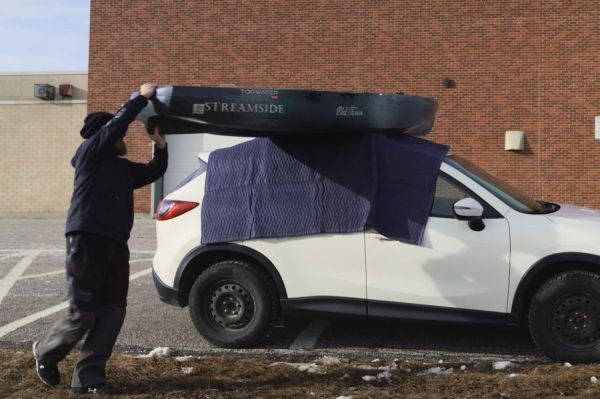
Step 6 – Carefully lift the kayak at each end to remove the blanket then secure your kayak with tie-downs.
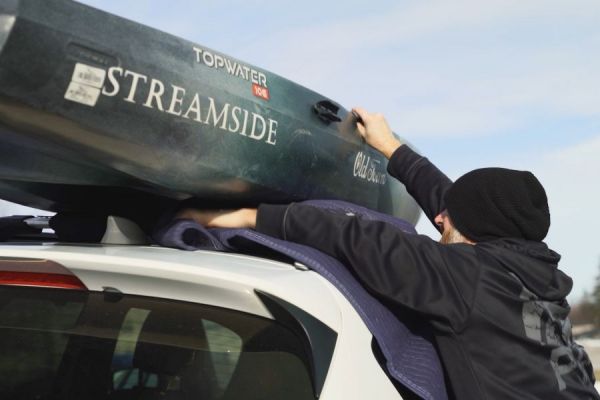
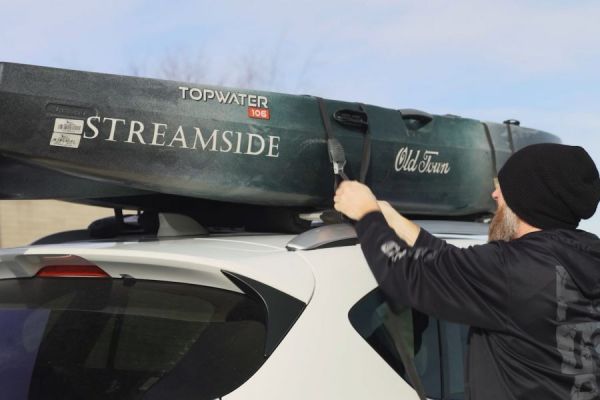
To remove the kayak the process is the same but in reverse and just as easy to do as you will see in the below sequence of photos and is demonstrated better in the video above.
