HEXX Rotating Platform Mount Instructions
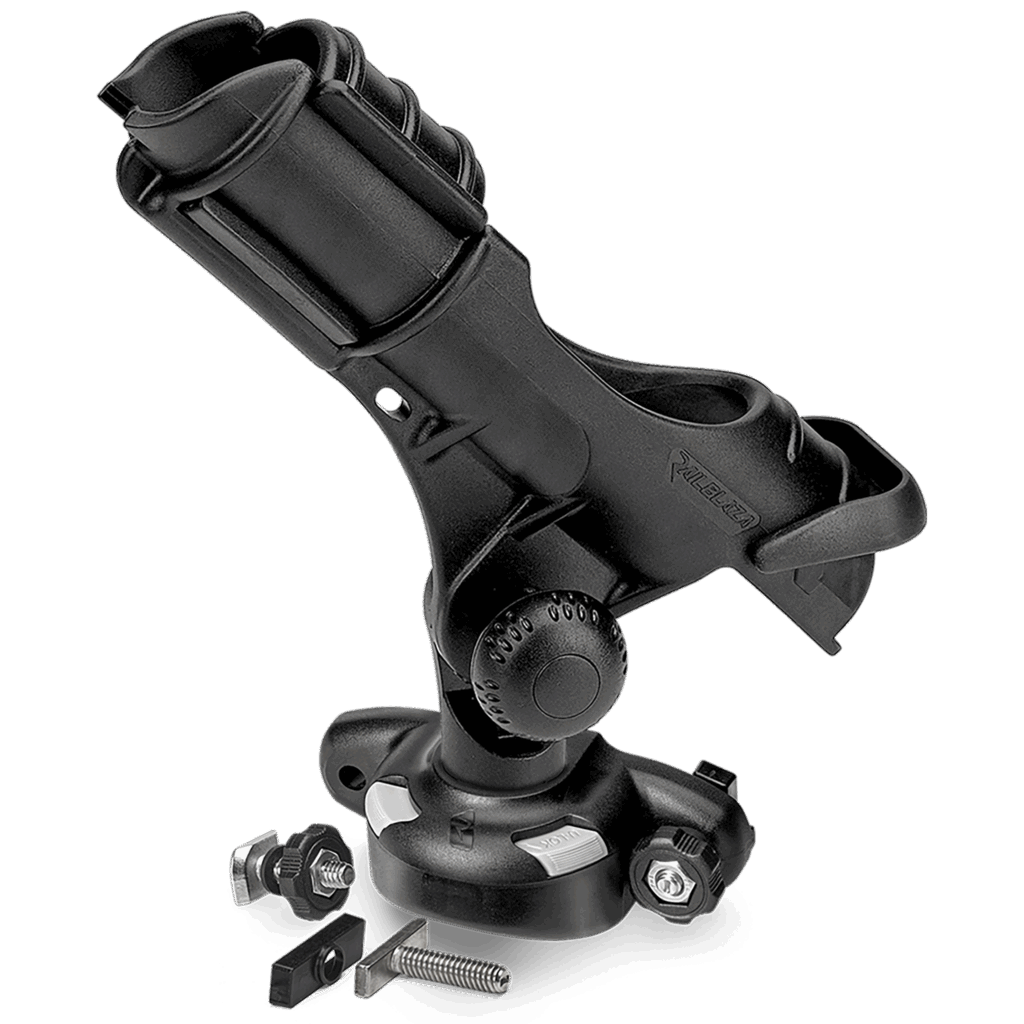
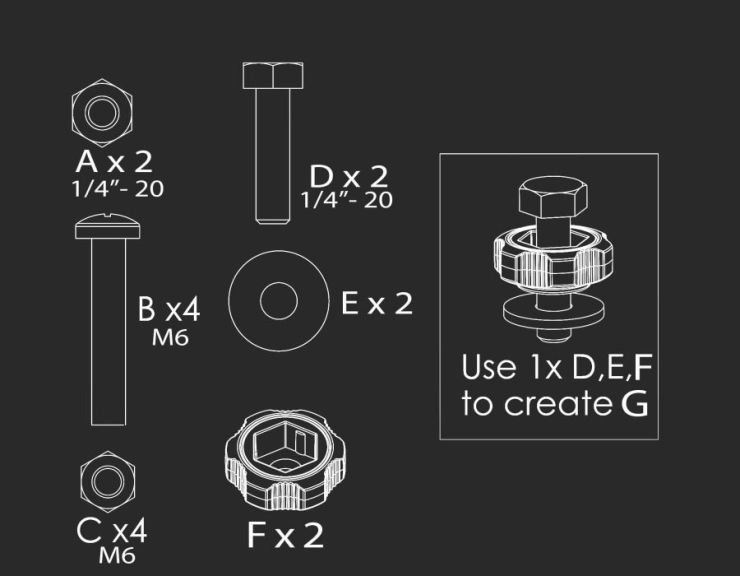
Fasteners
![](https://www.railblaza.com/wp-content/uploads/2023/02/Fasteners-with-HEXX-Rotating-Platform-v2__ScaleMaxWidthWzc0MF0.png)
Step 1 – Pilot Holes
![](https://www.railblaza.com/wp-content/uploads/2023/02/Instruction-1-v2__ScaleMaxWidthWzc0MF0.png)
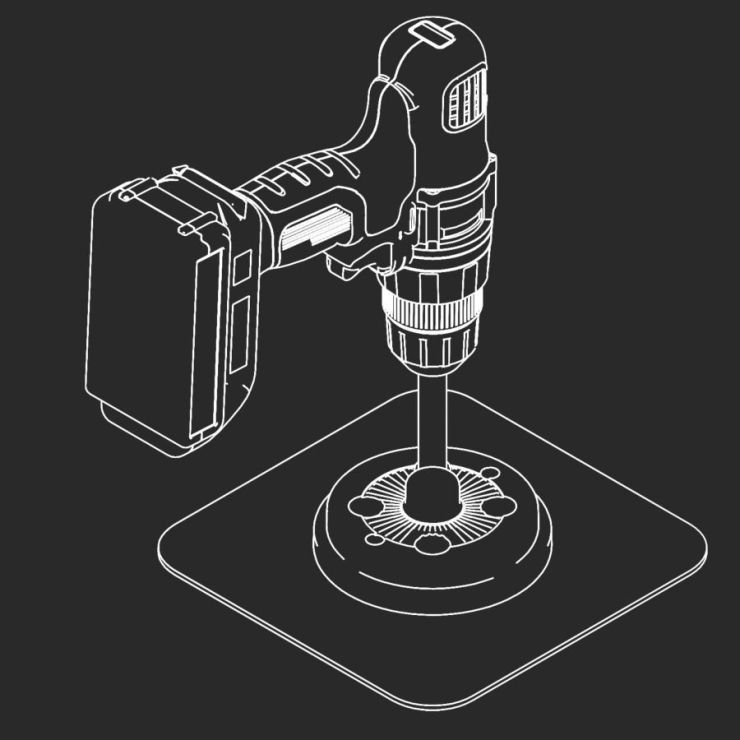
Step 1. Drill four (6mm – 1/4″) pilot holes using the base plate as a template.
Step 2 – Drill holes
![](https://www.railblaza.com/wp-content/uploads/2023/02/Instruction-2-v3__ScaleMaxWidthWzc0MF0.png)
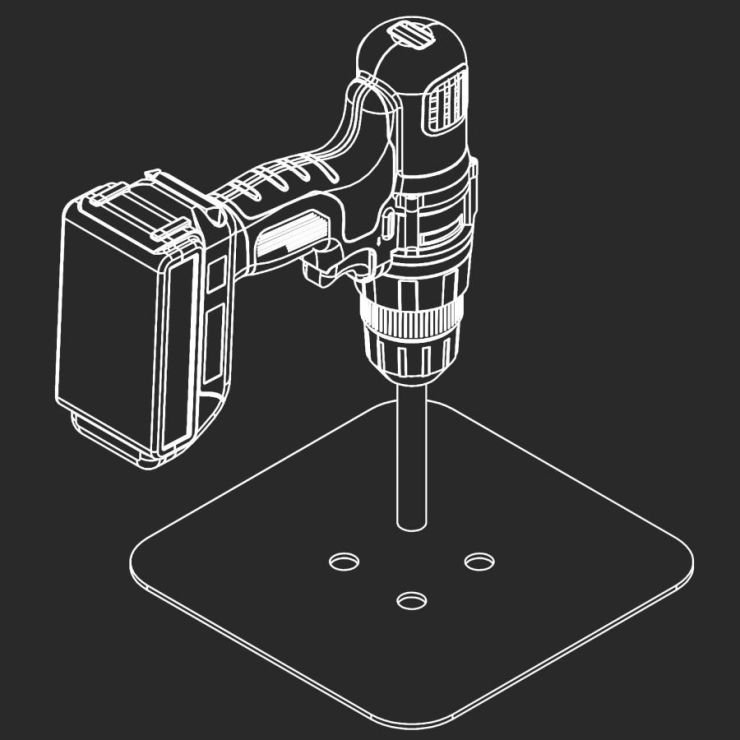
Step 2. Drill four 10mm (25/64″) holes to mount the base plate.
Step 3 – Insert nuts
![](https://www.railblaza.com/wp-content/uploads/2023/02/Instruction-3-v3__ScaleMaxWidthWzc0MF0.png)
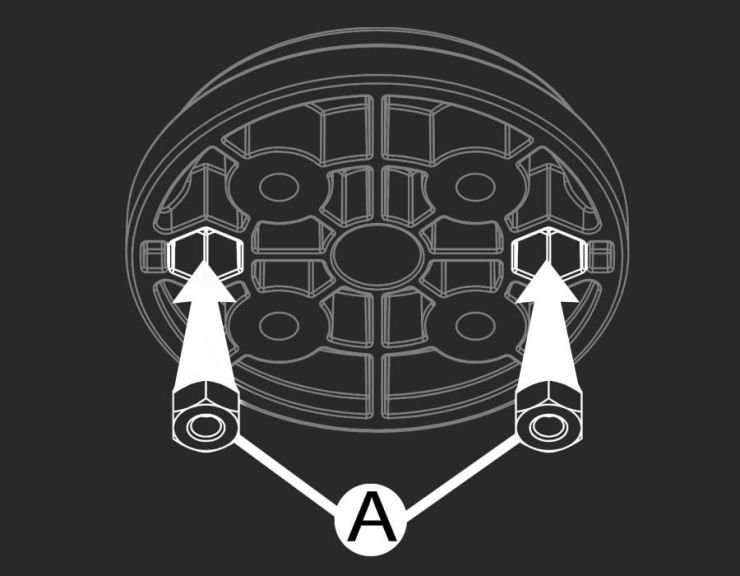
Step 3. Push two A nuts into the hex recess in the base plate.
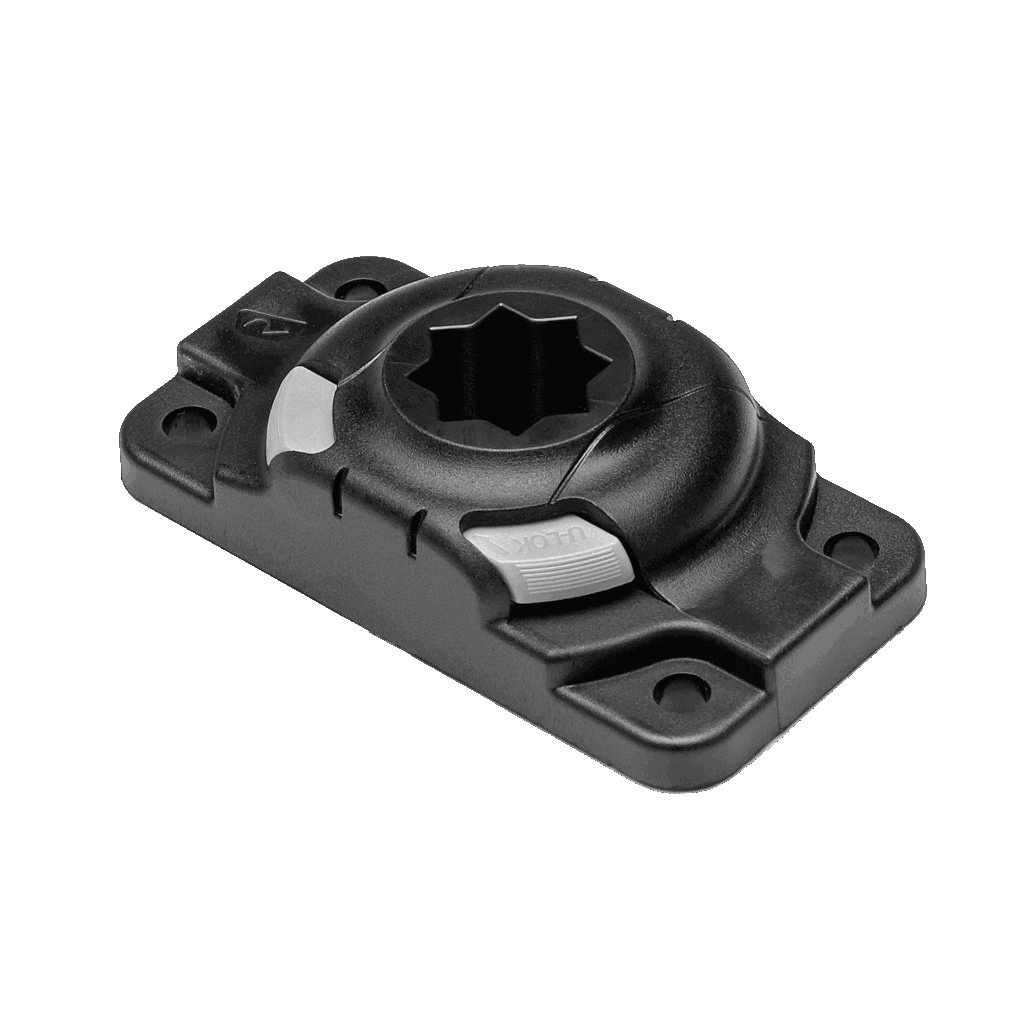
Step 4 – Install base plate
![](https://www.railblaza.com/wp-content/uploads/2023/02/Instruction-4-v2__ScaleMaxWidthWzc0MF0.png)
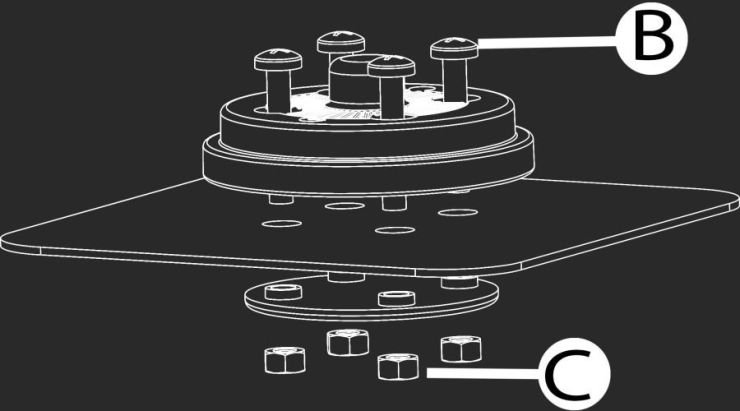
Step 4. Push the backer plate into the four holes with the R facing down and bolt the base plate using the B Philips screws and C nuts.
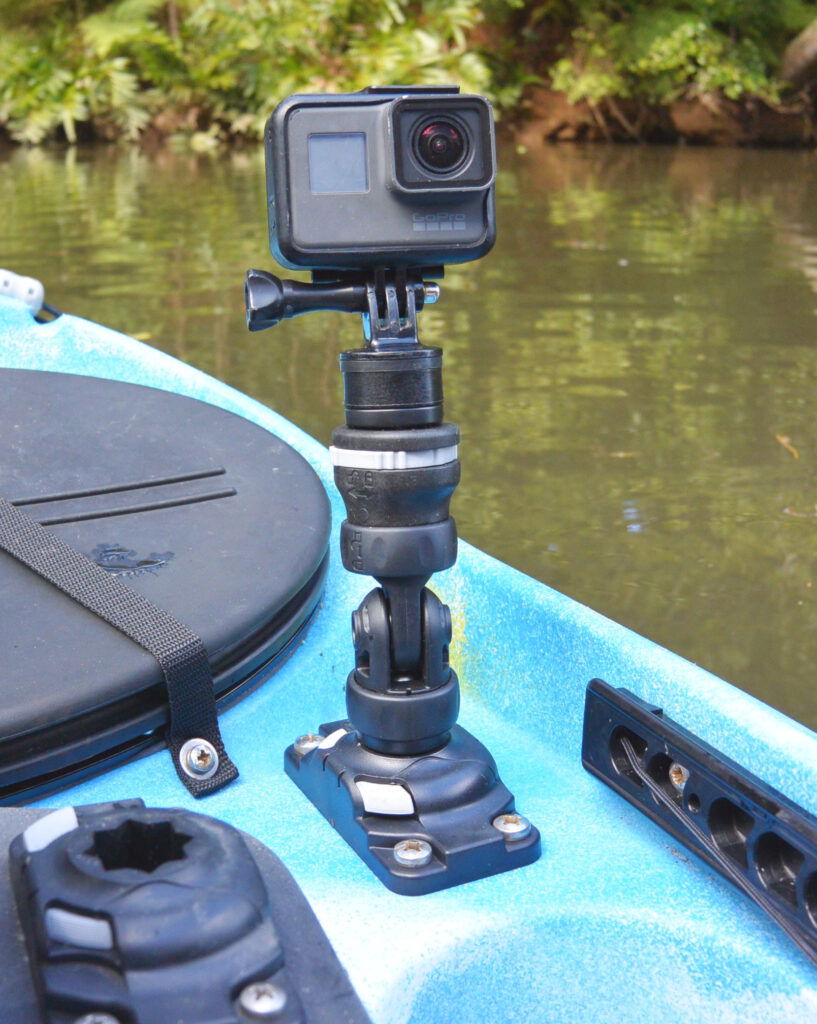
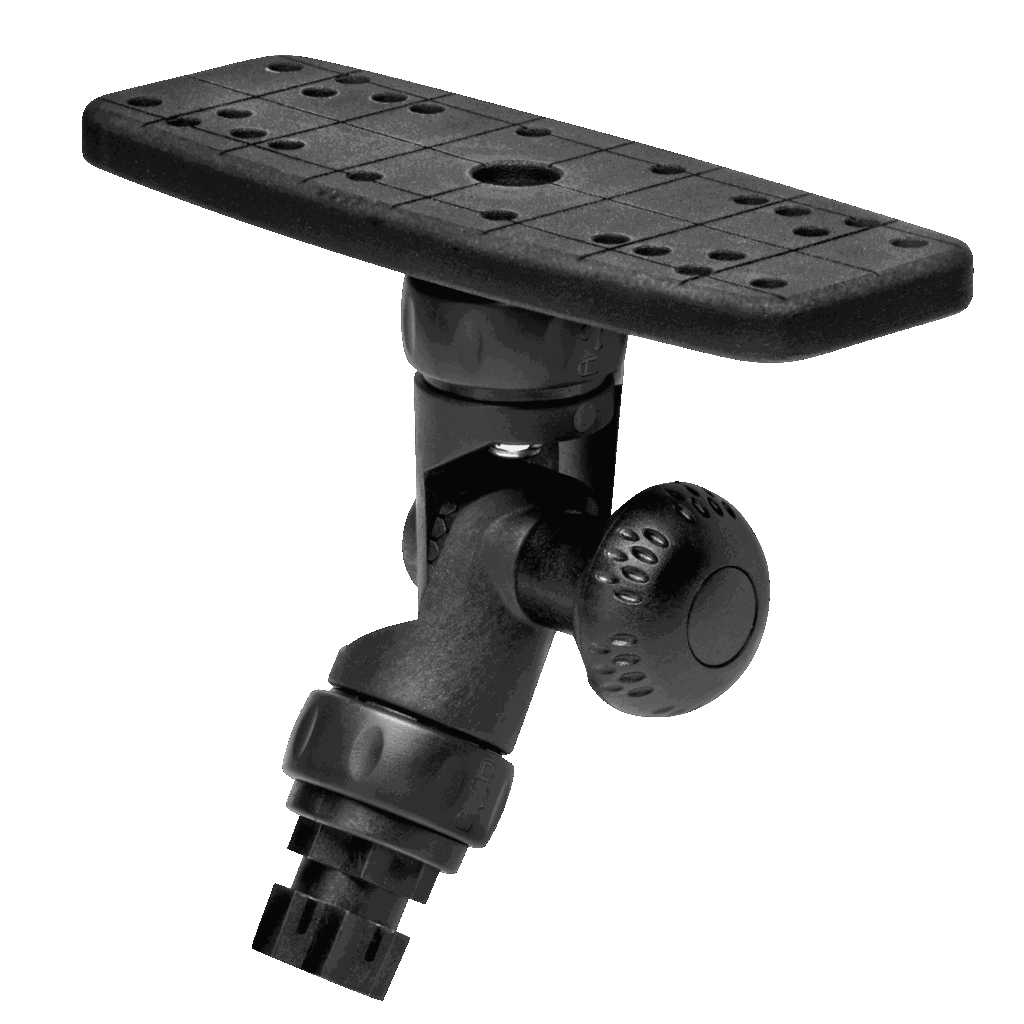
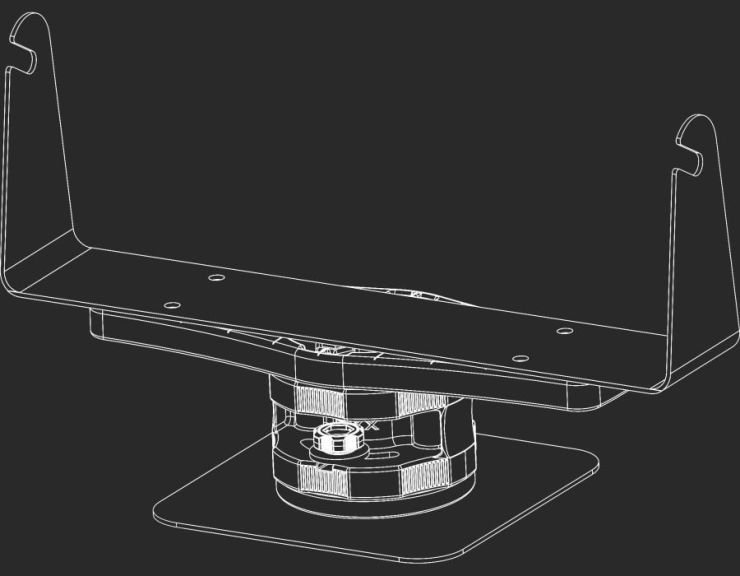
Step 5 – Attach Fish Finder Bracket
![](https://www.railblaza.com/wp-content/uploads/2023/02/Instruction-sounder-bracket-to-base__ScaleMaxWidthWzc0MF0.png)
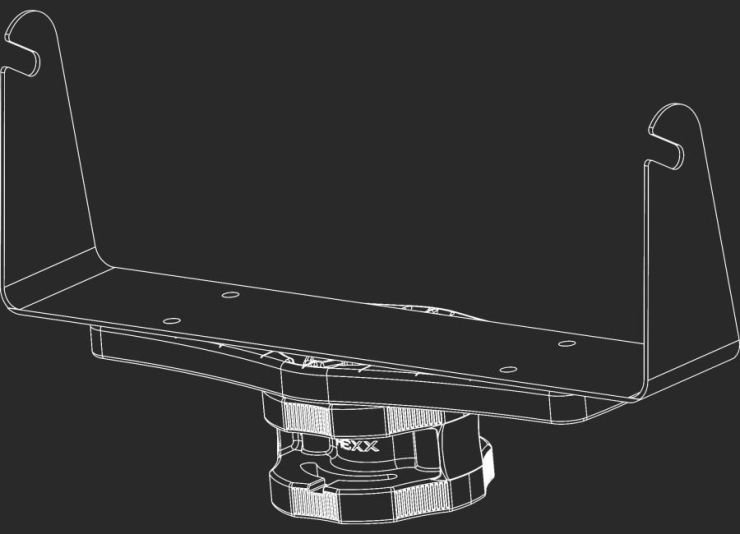
Step 5. Attach your fish finder bracket to the platform.
Step 6 – Install Bolt
![](https://www.railblaza.com/wp-content/uploads/2023/02/Instruction-side-bolt__ScaleMaxWidthWzc0MF0.png)
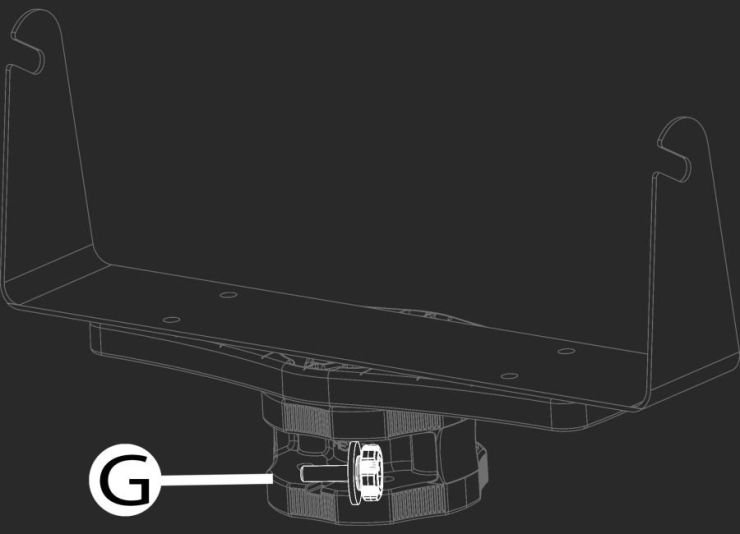
Step 6. Install the two thumb wheels G. Note: Guide them into the slot from the side.
Step 7 – Attach to base plate
![](https://www.railblaza.com/wp-content/uploads/2023/02/Instruction-attach-to-base__ScaleMaxWidthWzc0MF0.png)
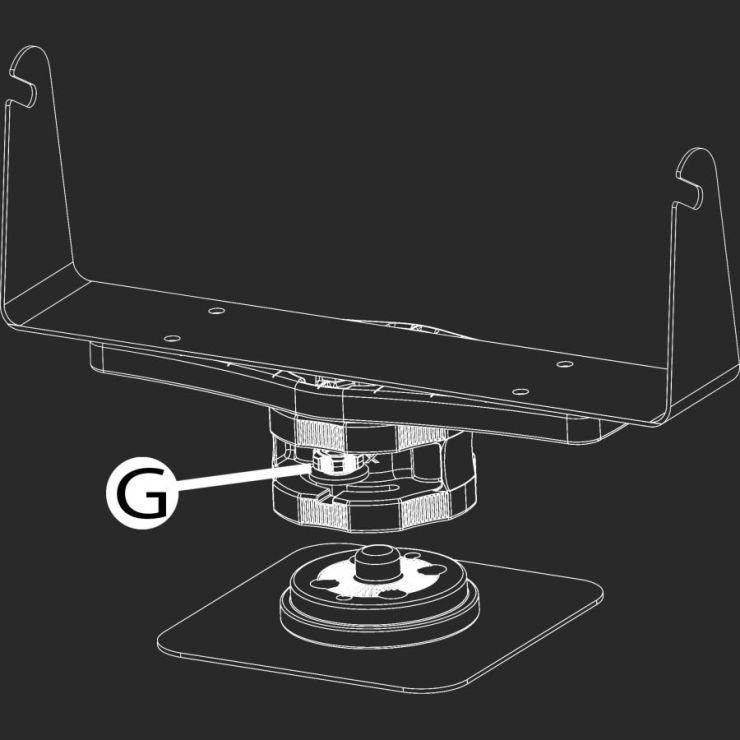
Step 7. Attach to the base plate using thumb screw G.
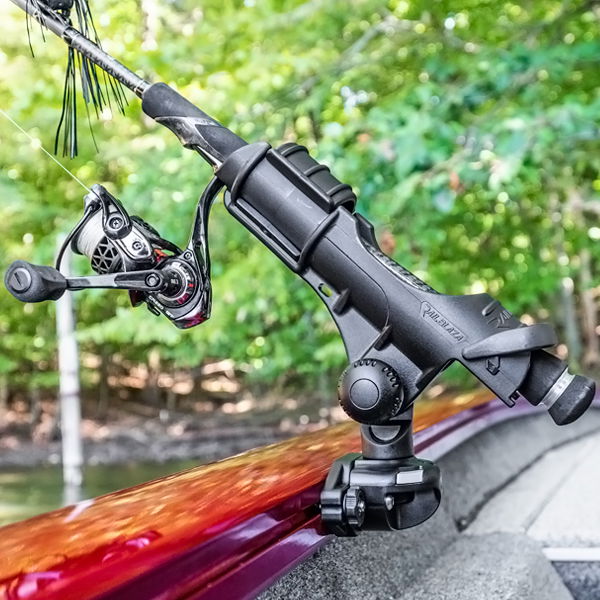
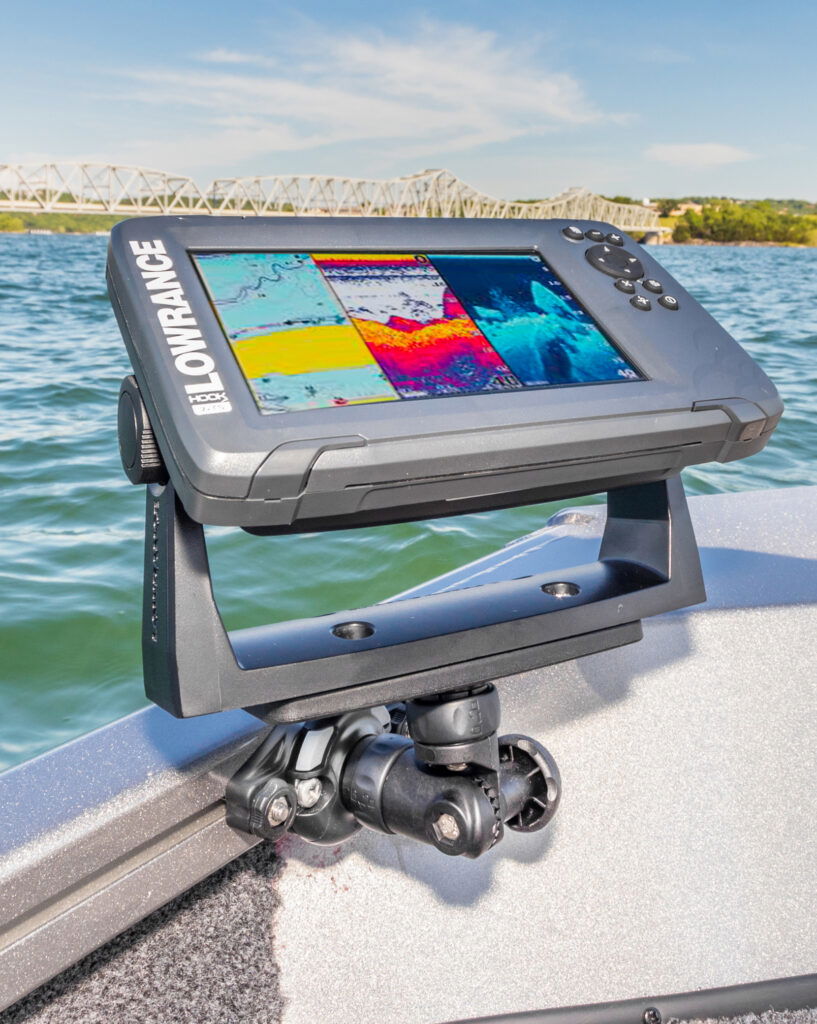
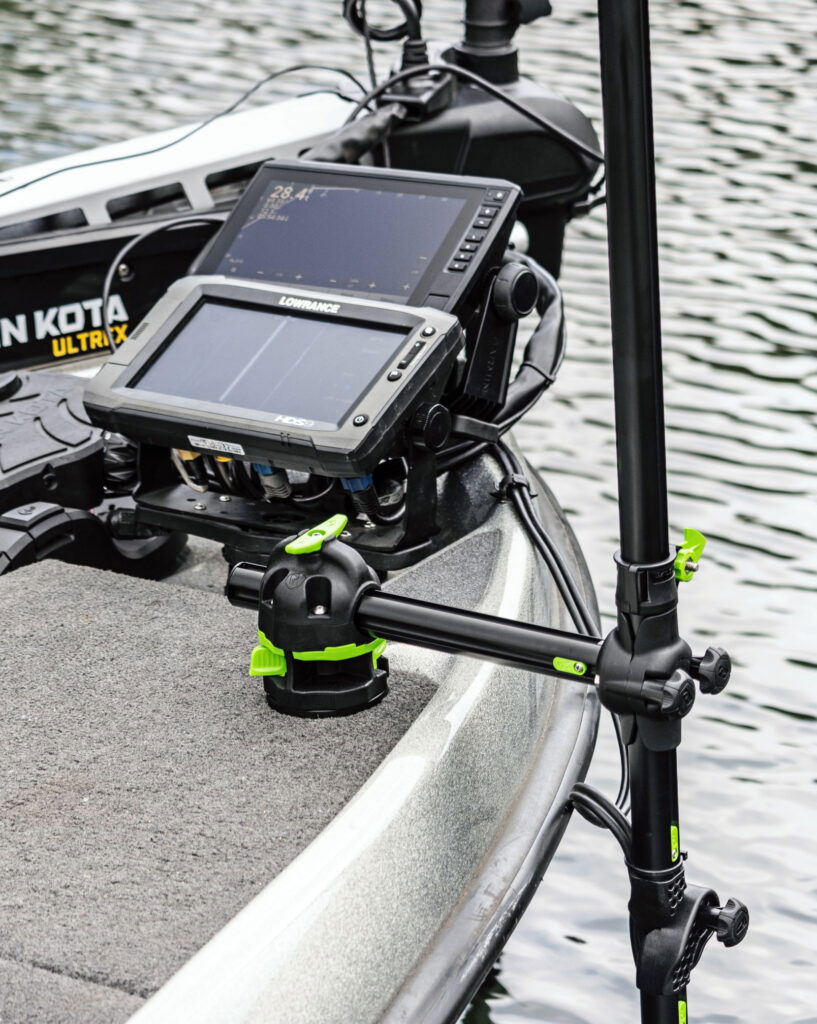
Step 8 – Complete!
![](https://www.railblaza.com/wp-content/uploads/2023/02/Complete__ScaleMaxWidthWzc0MF0.png)
Step 8. Your install is now complete!